
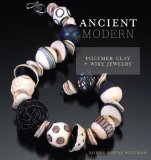
Polymer Clay 101
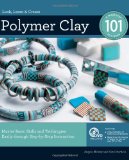
It's finally here! Polymer Clay 101
is now in stock at various bookstores online (more on where to buy it below). I co-wrote Polymer Clay 101 with Kim Otterbein: she wrote the basics chapter and the first 11 projects, while I did the last 10 projects and "starred" in the accompanying DVD.
Book-writing is so much more solitary than blog-posting — there's a lot of hours of work and a lot of waiting without feedback. So I'm excited that I finally get to show you what I've been up to & see what you think!
Book Overview
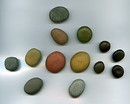
Polymer Clay 101 would be great for a polymer clay beginner. The first 33 pages cover all the basics — tools, techniques, color mixing, mold making, sanding & polishing, etc. After that, 21 projects demonstrate major polymer clay techniques. We show how to do important things like Skinner blends and caning... but we also show some more unusual techniques like using an extruder for a filigree look, and carving baked clay. The 45-minute DVD shows each of these techniques in action — great for visual learners!


 and Amazing Twist Pen")
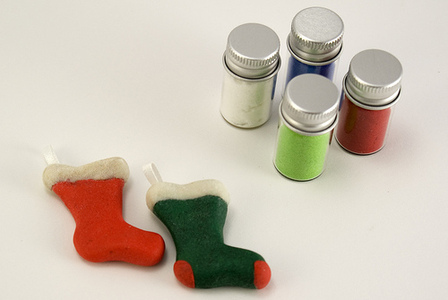
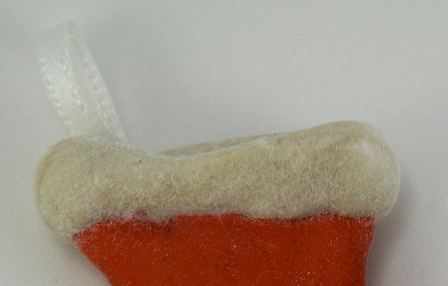
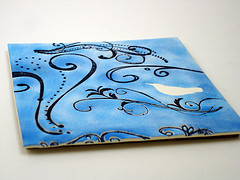
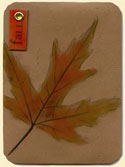 When I signed up for my first polymer clay Artist Trading Card (ATC) swap last month, I thought to myself, This won't be like all the other things I sign up for... I won't wait til the last minute this time.